[Update Jan 2015:
After three years of using this tent in the field, I can make the following comments:
- I recommend that your zipper has two sliders, allowing it to be opened at both ends. That way you can open the top of the zip for ventilation. I would also add a little weather hood over the top end of the zipper - use the cord from a weed trimmer to provide stiffness.
- I have since sewn on a noseeum skirt around the bottom of the tent. It doesn’t stop all of the bugs, but it helps! I also use it as a snow flap in Winter.
- I found the .433” poles originally used would bow badly in strong winds. I have replaced these with .625” poles or else use ski poles bound together.]

The materials, including 10 yards of silnylon seconds, polyester thread, grosgrain ribbon, webbing, ladderlocs and .433" (11mm) poles, I bought from US-based Quest Outfitters for $133. They were easy to deal with and shipped my order within a day.
[Update: Aussies can also get their materials locally from Simon at www.tiergear.com.au]
The package arrived 8 days later. I was very excited. Unfortunately we were moving house at this time and it ended up being another 3 weeks before I actually made a start on the project.
[Update: Aussies can also get their materials locally from Simon at www.tiergear.com.au]
The package arrived 8 days later. I was very excited. Unfortunately we were moving house at this time and it ended up being another 3 weeks before I actually made a start on the project.
I followed Jerry's design and instructions fairly closely. I also referenced the BPL posts and blog of Chris Roane, who had made an excellent 'mid also using Jerry's design.
My first step was to use a warm iron to remove the worst of the creases that had formed in the silnylon during transit. This probably was not a absolutely necessary action, but it didn't take long.
I laid out the material and started marking out the pattern using a Sharpie. I was little nervous using a permanent marker; however I managed to do the mark-up with only one significant stuff-up. (Apparently the marker lines will fade over time :) ) [Edit: They don't!]

The calculations for the catenary curve were done using a spreadsheet produced by Roger Caffin and modified by Jerry, a copy of which you can find here. I used a 6cm deflection.
[Update - Jan 2015: After much field use I have concluded that a 6cm deflection was too much, as
- it reduces the interior space
- for Winter use, the angle of bottom section is quite low, causing snow to collect. The tent can end up very small!
I therefore recommend a 4-5 cm deflection for this tent design, which will still provide good tension. ]

Getting the tension correct was the biggest challenge and I had many frustrations either unpicking and redoing sections where the thread had bunched up, or else rethreading the machine when the thread had snapped. I eventually got the hang of it and even started to get a bit of speed into my sewing - quite useful as a tent that's 5 foot high with 9 foot sides needs a lot of sewing.
I learned the joy of a flat felled seam. I found I needed to do a bit of Googling to get the hang of it. This video tutorial was helpful. Very satisfying when I did my first one!

Another sewing lesson was that it is important to have a sharp needle. I broke a needle at one point and on replacing it found the sewing much easier.
After the sewing basics the next major challenge was putting in the zip. I used the technique that Jerry recommended - sewing the zip face down from the inside, then ripping the lightly-sewn edges on the front to reveal the zip, after which I flat-felled the edges.


To finish off I added top stops to the zipper ends.

Sewing on the reinforcement patch at the apex of the tent was very tricky. I wasn't that happy with the final result - a bit fugly - but it seemed strong enough anyway.

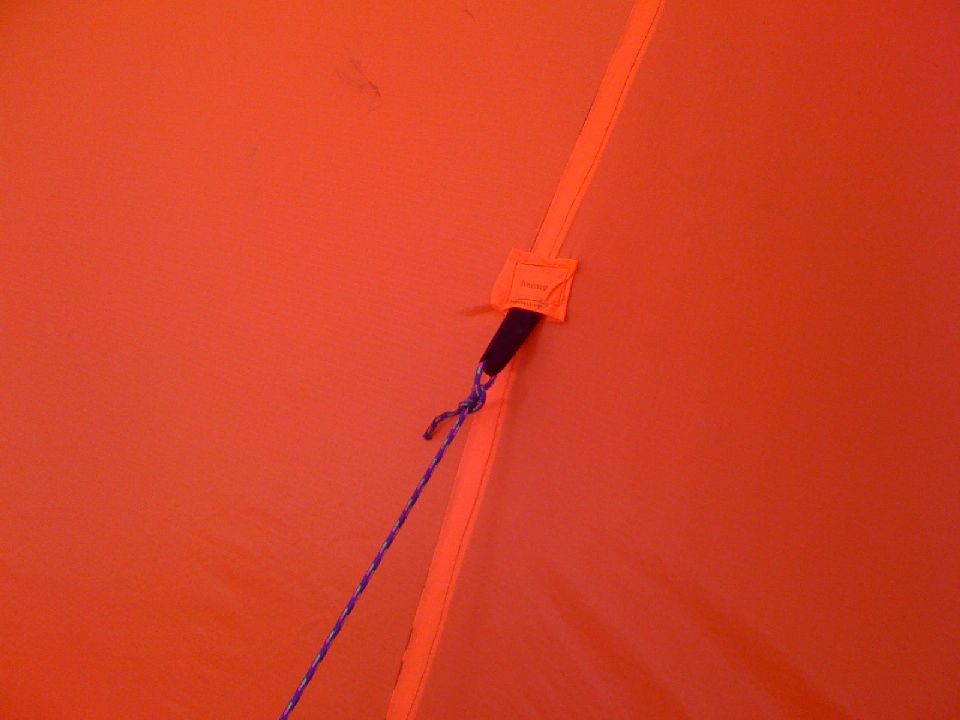
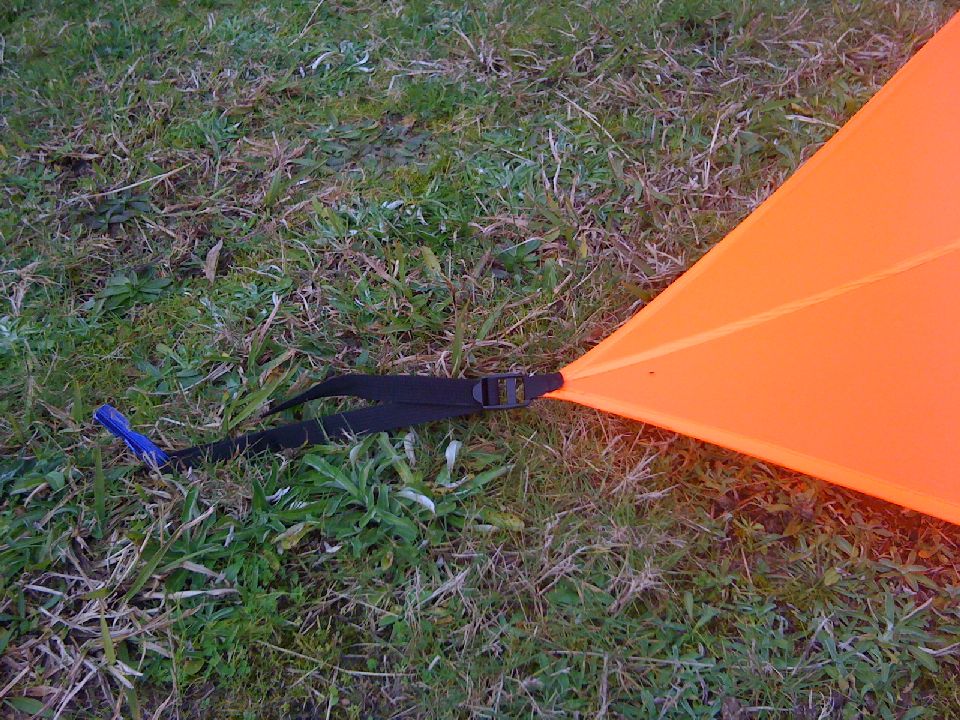
I then sewed in the tie-outs to the corners and to the middle of each side edge. To make the tent more spacious and a bit more wind-proof, I added tie-outs about a third of the way up each side.
I then used a hacksaw to cut up the 11mm Easton poles into 21" lengths and fitted the end caps.
Lastly I made a bag to carry the tent.
I then headed up to a local park to test out my new mid. To be honest, I was quite pleased with the result.

I love the orange colour - nice and bright. However, I guess I can forget about using this tent for stealth camping!


The final product has dimensions the same as Jerry's and weighs just 655 gms (23 oz), including bag, tie outs and guy lines. The pole adds 135 gms (4.8 oz), though I may forego this in the winter for a system using my ski poles connected together. A set of standard pegs add 180 gms (6.3 oz). For winter use some snow pegs I made add 575 gms (20 oz).
That orange colour is awesome. It makes my Dutch heart proud!
ReplyDeleteOh yeah, nice shelter, too!
Glad you like the colour, Hendrik :).
ReplyDeleteThe tent got a tough workout on a windy mountain top last week. Will describe what happened in my next blog update.
Andrew
Thanks for posting this. I am going to have a go at something similar. I'm with Hendrik on the color!
ReplyDeleteI'd love to try this! Could I ask where you got your silnylon Andrew?
ReplyDeleteHi Tristana
ReplyDeleteI got the materials from Quest Outfitters - www.questoutfitters.com in the US.
Would love to see a few pics when you're done.
All the best
Andrew
any advice on how to use the cat curve calc? i know my length, how do i determine deflection?
ReplyDeleteHi Brano I've added a link to the cat curve speadsheet in the post. For this tent design I used 6", which I feel was too much. I'd use 5" or even 4"
ReplyDeletethanks Andrew, what was your ridge length, i will try to figure my deflection based on that. also did you do cat curves at perimeter of tent too, or just ridges?
ReplyDeleteCorrection: Those measurements should be in cm, not inches
ReplyDeleteRidges are 95.5". No cat curve on the perimeter
ReplyDeleteI appreciate the detailed modifications made to improve this tent design.
ReplyDelete